
Secure wall mounting starts with three facts: what the object weighs, what the wall is made of, and what hardware the object is designed to use. Matching those three factors is more important than relying on a favorite anchor or a one-size-fits-all rule.
TL;DR: Weigh the item, identify drywall, plaster, masonry, or another substrate, locate studs when practical, use hardware rated for both the load and wall type, level before drilling, and get help with heavy or awkward pieces.
Gather the Right Information Before the Tools
Measure the object’s width and height and determine its weight. Check the back for D-rings, keyhole slots, wire, mounting rails, French-cleat hardware, or brackets supplied by the manufacturer. If mounting instructions are included, follow them rather than substituting different fasteners without a clear reason.
Then identify the wall. Drywall over wood studs behaves differently from plaster over lath, concrete block, brick, tile, or a hollow partition. A stud finder can help on many framed walls, but plumbing, wiring, metal framing, blocking, and irregular construction can complicate readings. When the location is uncertain, avoid drilling blindly near outlets, switches, plumbing fixtures, or known utility routes.
The Home Depot’s heavy-mirror installation guide also stresses matching hardware to wall type and object weight. Treat any retailer’s load figures as product-specific, not as a universal rating for every wall condition.
Choose Studs When the Layout Allows
Fastening into sound framing is often the simplest approach for heavy shelving or wall décor, but stud spacing may not line up with the desired position. For a shelf, a mounting rail or bracket system can sometimes bridge between studs. For a mirror or large artwork, a properly installed cleat may distribute the load across multiple fasteners.
Do not assume that every stud location is suitable. A wall may contain plumbing, electrical cables, fire blocking, or other utilities. Use appropriate detection methods and stop if you encounter unexpected resistance or materials. In apartments or rentals, also check lease rules before creating large holes or installing permanent hardware.
For another maintenance project where the safe stopping point matters, the guide to water heater maintenance uses the same principle: DIY work should end where the risk or uncertainty exceeds your tools and experience.
Match the Anchor to the Wall and Load
Hollow-wall anchors, toggle anchors, self-drilling anchors, masonry fasteners, and screws into studs are not interchangeable. Each depends on wall thickness, substrate condition, fastener size, installation technique, and load direction. A shelf loaded with books can pull outward and downward, while a flat picture frame may place a more static load close to the wall.
Use hardware with a published rating for the intended application and install it exactly as directed. Damaged drywall, crumbling plaster, weak mortar, or a patched hole can reduce holding strength. Never rely on an old anchor just because it already exists in the right spot. If an anchor spins, tears the wall surface, or does not seat correctly, remove it and repair or relocate the mounting point.
Plan Shelf Brackets as a System
Shelves add another variable: the load changes after installation. A decorative shelf that starts with a few framed photos may later hold books, cookware, plants, or audio equipment. Choose brackets and fasteners for the realistic future load, not the empty shelf.
Mark bracket centers and use a level to create a reference line. Check that the shelf depth will not interfere with doors, walking paths, head clearance, or nearby fixtures. Fasten brackets firmly without overdriving screws into soft materials. Once the shelf is installed, load it gradually and watch for movement, wall deformation, or bracket flex. If the shelf instructions specify a maximum load, treat that limit as part of the installation, not an optional suggestion.
Hang Heavy Mirrors With Redundancy
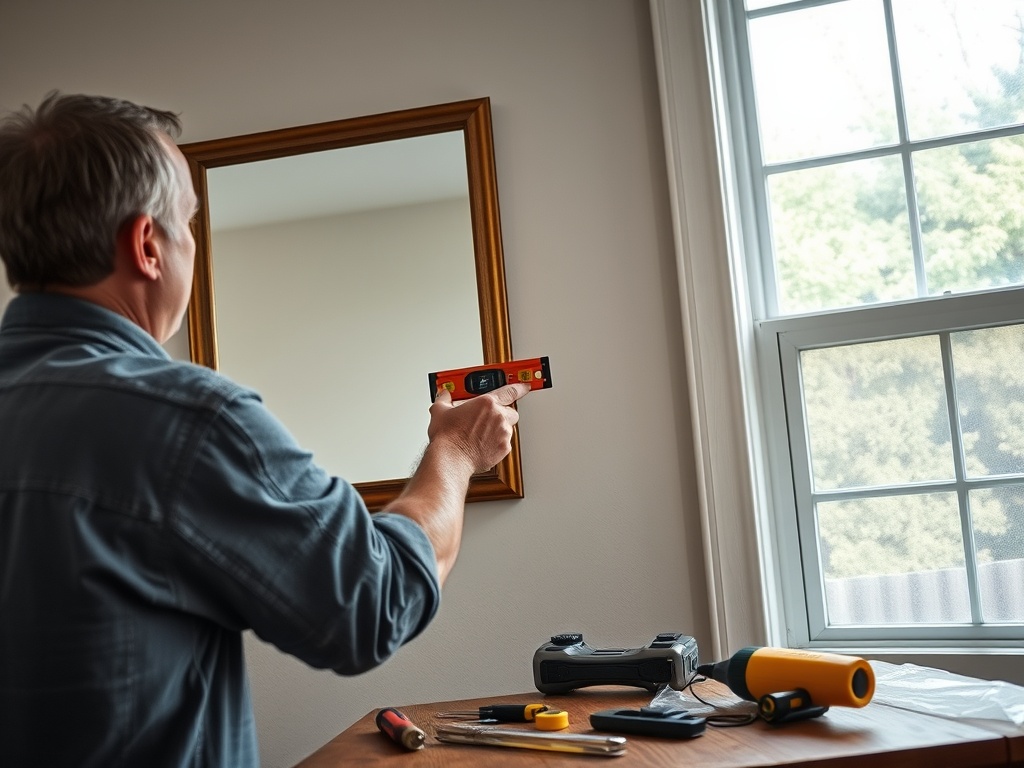
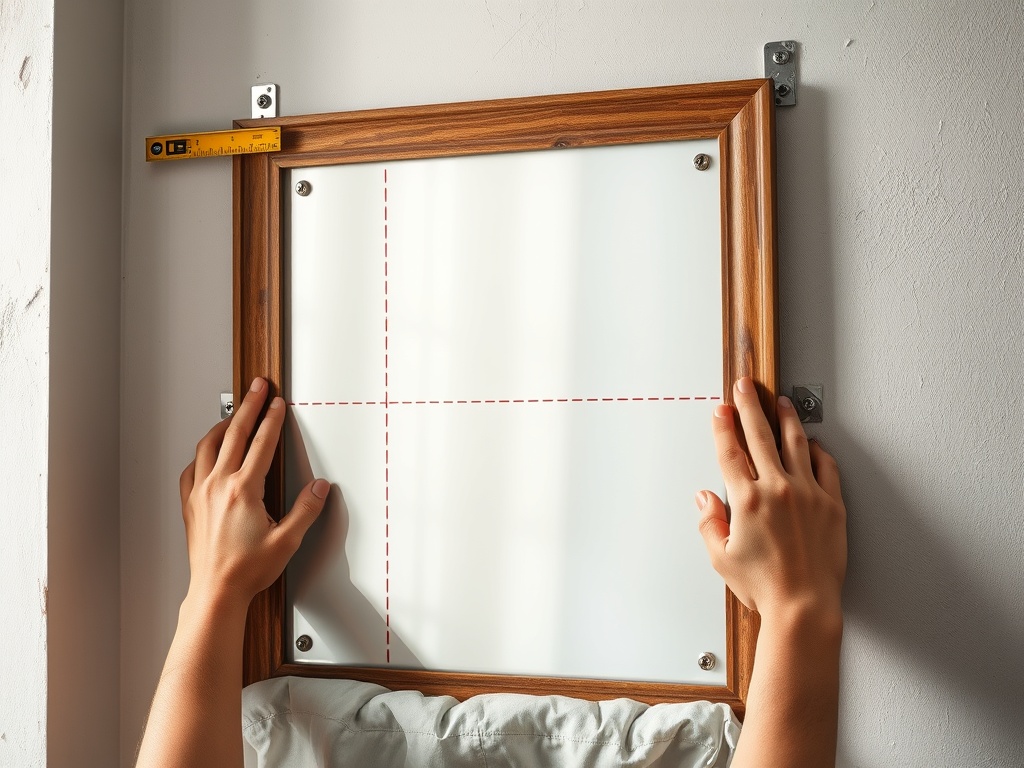
Large mirrors are awkward because they combine weight with fragile glass. Have another person help lift and position them. Inspect the frame and attached hardware before mounting; loose D-rings, deteriorated wire, or weak backing can fail even if the wall anchor is strong.
Two support points can help distribute a wired mirror’s load and reduce side-to-side movement, while a French cleat can provide broad support for some frames. Frameless mirrors may use clips, channels, or compatible mirror adhesive, but the correct method depends on the glass, wall surface, and manufacturer instructions. Avoid substituting general construction adhesive where a mirror-compatible product is required because some adhesives can damage backing or may not be rated for the installation.
Keep Art Level Without Overcomplicating It
For lighter art, the goal is consistent placement and suitable hardware rather than maximum-strength anchors. Measure from the frame edge to the hanger or taut wire, transfer that dimension to the wall, and confirm with a level before making the hole. Painter’s tape can help create temporary reference marks without covering the wall with pencil lines.
Gallery walls benefit from paper templates laid out on the floor or taped lightly to the wall. This lets you check spacing, visual balance, and sightlines before drilling. It also makes it easier to avoid placing a fastener where a utility route may be hidden.
Think Beyond the Object to Tip and Pull Hazards
A securely hung picture is one issue; a tall shelf, bookcase, or media unit creates another. The U.S. Consumer Product Safety Commission’s Anchor It campaign recommends securing top-heavy furniture and televisions to help prevent tip-over injuries, especially in homes with children. If a wall shelf is part of a larger storage arrangement, consider the stability of the entire unit rather than treating each fastener in isolation.
Do not place tempting heavy objects where children may climb to reach them. Keep heavier items lower when practical. A shelf attached to a freestanding cabinet does not automatically make the cabinet itself stable.
Test the Installation Before Trusting It
After mounting, check every fastener and bracket visually. Apply only a modest test load at first, keeping hands and feet clear of the fall path. Listen for cracking and watch for movement at the wall surface. A shelf should not pull away from the wall, and a mirror should sit fully engaged with its hangers or cleat.
Recheck high-use or high-load installations periodically. Fasteners can loosen, picture wire can stretch, and loads on shelves can grow over time. If the wall shows cracks, crushed drywall, enlarging holes, or movement around anchors, unload the item and repair the mounting system.
If valuable items will sit on the shelf, consider whether some belong in a more secure location. The comparison of home safes for documents, jewelry, and backup drives explains why fire, theft, and moisture are separate protection questions.
Secure Mounting Is Mostly Good Preparation
The cleanest installations happen before the drill comes out: verify weight, wall type, hardware, mounting points, and nearby hazards; then measure twice and work methodically. When the object is unusually heavy, the wall is damaged, the substrate is unknown, or the mounting position is near utilities, a qualified installer can be a sensible choice.
A good wall-mounting job should disappear visually. The shelf feels solid, the mirror sits level, and the artwork stays where you intended without asking the fasteners to do more than they were designed to handle.
Home and garden information is for educational purposes only and does not constitute structural, electrical, plumbing, or professional installation advice. Follow product instructions, property rules, and local requirements.
Before your next hanging project, write the object’s weight and wall type on the hardware package so the final fastener choice is deliberate rather than improvised.